LESSON 92: PEAKED BUTTONHOLE
15 de September de 2021Peaked Buttonhole Tutorial
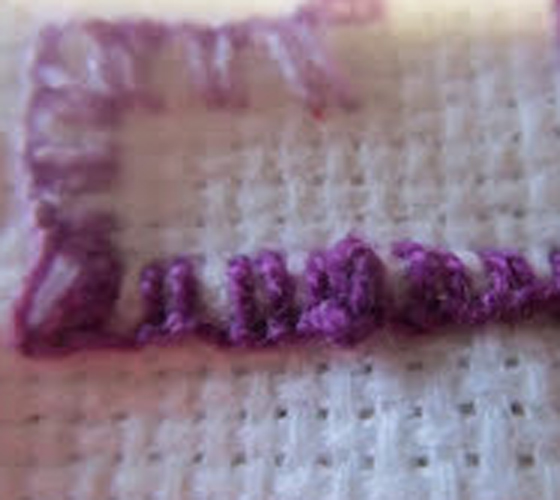
Here you have another very interesting point. This tutorial for single bartack and separate eyelet bars will be very helpful. Highly recommended also for patchwork.
It works in cutting work, lines and straight and curved profiles.
You work from left to right. Spiked twisted edge is down.
Fig. A: Work the buttonhole stitch to place the peak where you want. Wind the thread around the tip of the needle three times, as if to make the French knot, as shown in the photo.
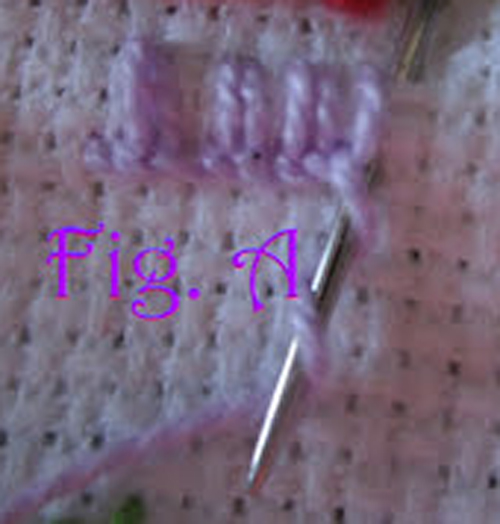

There is only the last step that we explain below:
Fig. B: Holding the twisted edges in place with your left thumb, gently push the needle into a beak. Pass it through the top stitch from left to right, without piercing the fabric, to start the next buttonhole stitch.
From here we invite you to try it and you will be surprised by the effect. I encourage you to try and you will love it.
Follow the tutorial step by step and you will see how while you are sewing you can think of other ways to make other stitches, even combined with all the ones that I am putting here. You can use it both in borders, as in curtains, sheets, towels etc. or as a simple ornament point in one of your paintings. It is best to follow the video step by step here:
Materials
- You need a sharp pointed needle. In your trusted haberdashery they can advise you on this.
- Thimble, we know that it is not easy to get used to it, but the earlier you adapt, the better, you will avoid many punctures.
- Special thread for sewing. Or you can also use fine crochet yarn if it is to decorate something
- Frame, there are made of wood, plastic and silicone. Lately I spend the silicone ones because I like them better, but that goes to taste.
- Light, the more the better and to be able to be natural
If you liked this lesson in fancy knitting, you can try some more of the ones we publish here