LESSON 120: STEP OF MATIZ STITCH
20 de January de 2022Tutorial for cut stitch of nuance:
It is used in smooth and solid filling for small areas, with the option of shading in various colors along the figure. Start at the top left:
Fig. A: Work the top strip in a straight flat stitch. Close it.
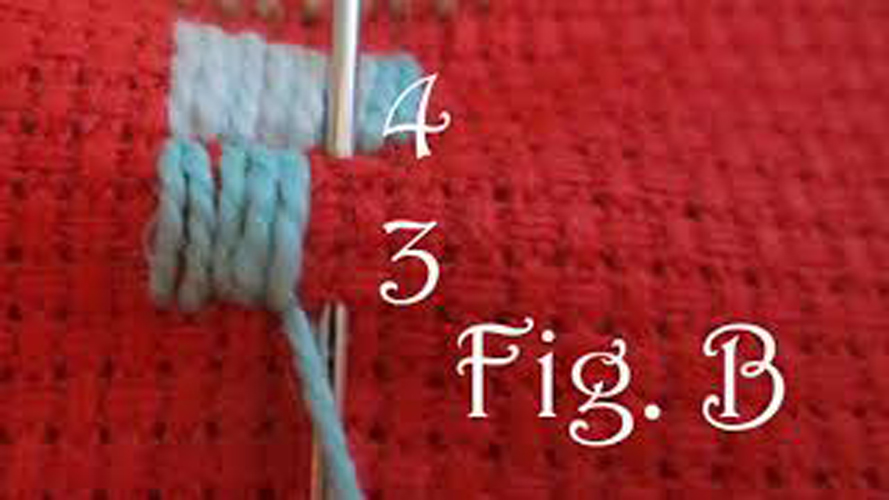
Fig. B: Start again from the left: Remove the needle in 3 and insert it in 4, between the end of the stitches above. The point must be parallel to those above. Repeat steps to the right and repeat this strip
Don’t miss out on this amazing video tutorial of sliced nuance point:
Materials
- You need a sharp pointed needle. In your trusted haberdashery they can advise you on this.
- Thimble, we know that it is not easy to get used to it, but the earlier you adapt, the better, you will avoid many punctures.
- Special thread for sewing. Or you can also use fine crochet yarn if it is to decorate something
- Frame, there are made of wood, plastic and silicone. Lately I spend the silicone ones because I like them better, but that goes to taste.
- Light, the more the better and to be able to be natural
If you liked this lesson in fancy knitting, you can try some more of the ones we publish here