LESSON 142: ROMANIAN STITCH
18 de May de 2022Tutorial for Romanian stitch:
Here’s the Tutorial for Romanian stitch; Solid fill for both regular and irregular shapes, small and medium, with less formal appearance than other points.
You can use it as a patch to cover some holes in your clothes.
Start at the bottom edge of the figure:
How do you do that?
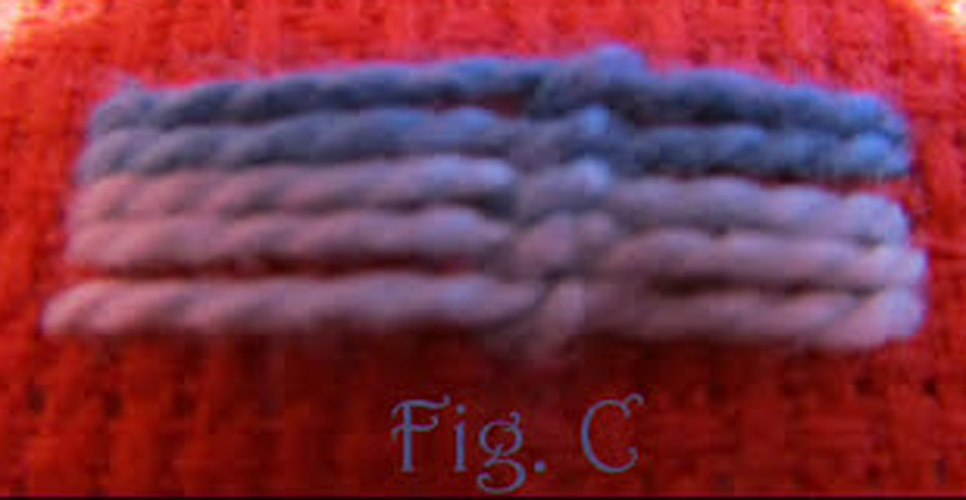
Fig. A: Remove the needle from 1 and insert it into 2, making a long stitch across. Do not pull too much of the strand as the fastening points will hold it firmly in place. Pull the needle back into 3, where you have to make the first fastening point.
Fig. B: Insert the needle into 4, making a diagonal stitch neither too long nor too short through the strand. Don’t pull too hard from this attachment point either. Pull the needle out again in 5 to start the next row.
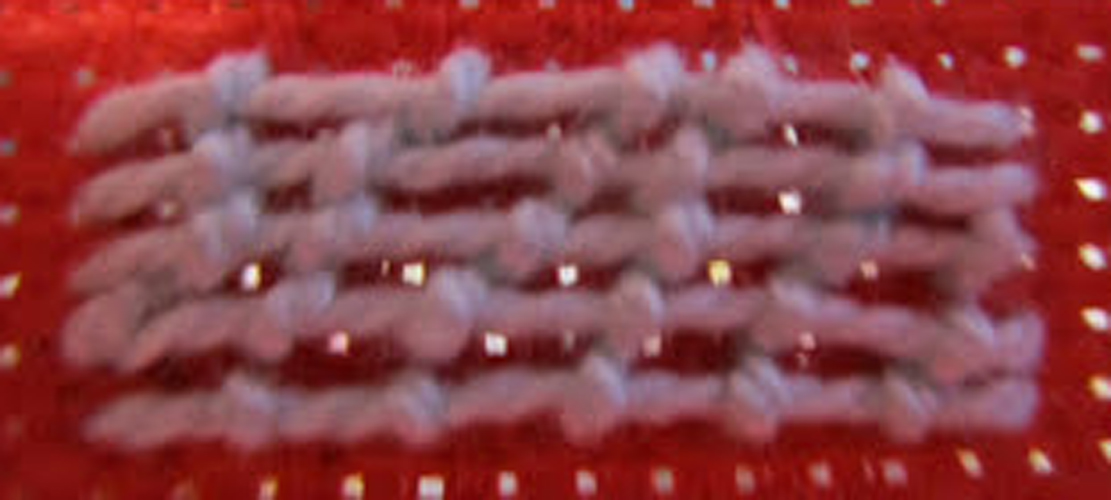
Fig. C: Continue to stretch threads from left to right, holding them in each pass, until the shape is filled.
The lines should be close to each other, with no visible tissue between them.
Here is the Tutorial for Romanian stitch:
Materials
- You need a sharp pointed needle. In your trusted haberdashery they can advise you on this.
- Thimble, we know that it is not easy to get used to it, but the earlier you adapt, the better, you will avoid many punctures.
- Special thread for sewing. Or you can also use fine crochet yarn if it is to decorate something
- Frame, there are made of wood, plastic and silicone. Lately I spend the silicone ones because I like them better, but that goes to taste.
- Light, the more the better and to be able to be natural
If you liked this lesson of fantasy point.You can try some more of the ones we publish here