LESSON 165: TENSIONED HONEYCOMB STITCH. BRICK TIE STITCH
3 de July de 2022Tutorial for Brick Stitch:
Here’s the Tutorial for brick stitchanother proposal of fantasy stitch that we propose you in Bordarycantar.com.
What is it used for?
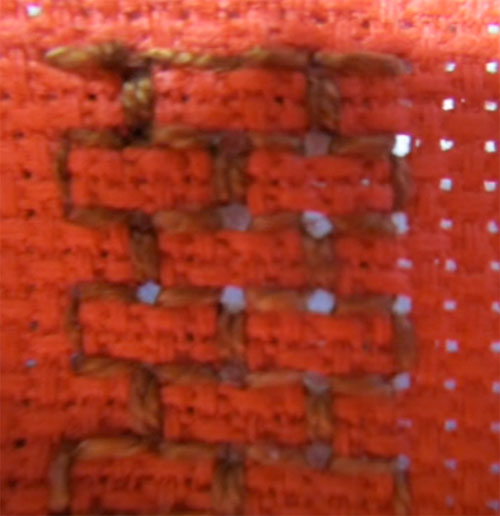
It is used as a filling stitch or border.
Work it loosely woven, so that you can count the threads. Use a blunt needle and strong thread, similar in weight to a strand of the fabric.
Start at the top. Pull firmly on all stitches:
How do you do that?
Fig. A: Pull the needle out at 1, pull it in at 2, pull it out at 3, pull it in at 1, pull it out at 4, pull it in at 3, pull it out at 5 and pull it in at 4.
Pull out the needle at 6 to start the next series (the stitches form a line of crosses on the reverse side).
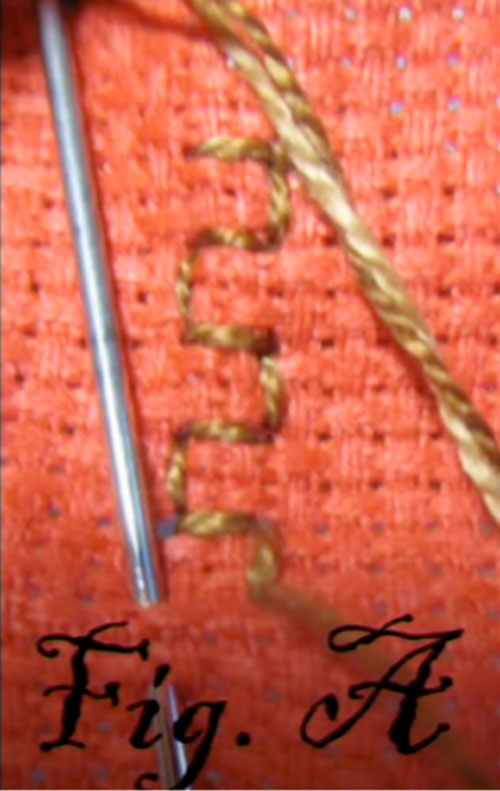
Fig. BTo work the following rows, turn the work over and stitch in the same way, duplicating alternate vertical stitches from the previous row through the same holes.
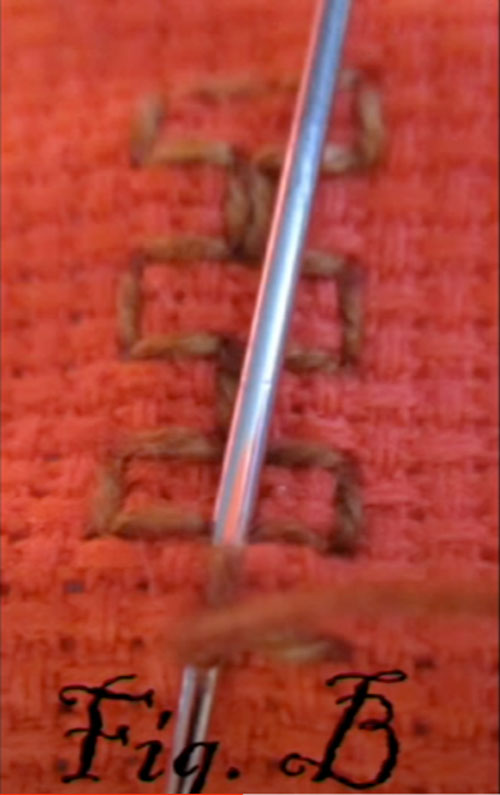
Repeat this point as many times as necessary.
Here is the Tutorial for Brick point:
Materiales para coser con el tutorial de punto de ladrillo:
- You need a sharp pointed needle. In your trusted haberdashery they can advise you on this.
- Thimble, we know that it is not easy to get used to it, but the earlier you adapt, the better, you will avoid many punctures.
- Special thread for sewing. Or you can also use fine crochet yarn if it is to decorate something
- Frame, there are made of wood, plastic and silicone. Lately I spend the silicone ones because I like them better, but that goes to taste.
- Light, the more the better and to be able to be natural
If you liked this lesson of fantasy point.You can try some more of the ones we publish here