🧵🔥 Punto de Espiga Hacia Arriba y Abajo 🌟🔄 Lección 48
21 de August de 2024Tutorial for Herringbone Up and Down

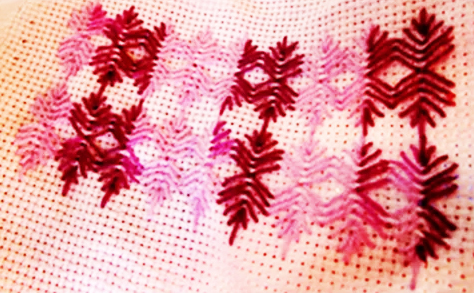
✨ Hoy te presentamos una nueva variación del punto de espiga que te encantará. 🌸 Esta hermosa puntada de fantasía usa el punto de espiga hacia arriba y hacia abajo para crear un diseño espectacular. Es ideal para cenefas en sábanas, cortinas, toallas, y cualquier proyecto de bordado que quieras embellecer. 🛏️

El resultado final es un punto que queda como una especie de flor 🌺. Simplemente es combinar el herringbone point up in one strip, and in the next the herringbone point down. Sigue nuestro tutorial paso a paso y descubre lo fácil y sorprendente que es crear este diseño. Puedes usarlo como cenefa o como adorno en tus cuadros de bordado. 🎨🖼️
🔗 Descubre más patrones exclusivos en nuestro sitio web y suscríbete para no perderte ningún tutorial. ¡Empieza hoy mismo y dale vida a tu creatividad! 🎨
Recommended Materials:
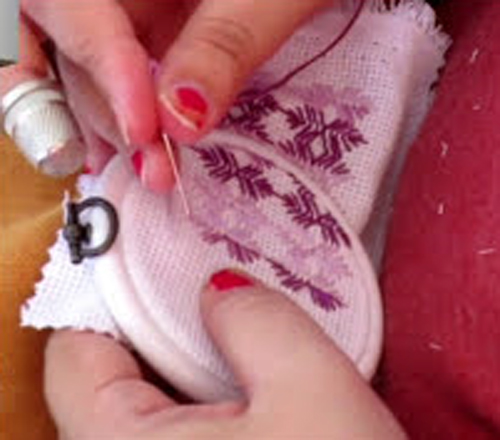
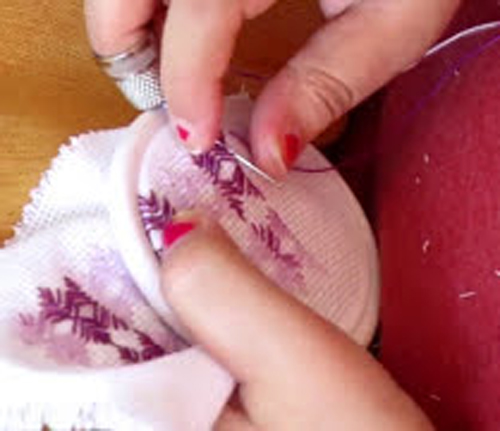
- You need a blunt needle. In your trusted haberdashery they can advise you on this.
- Thimble, we know that it is not easy to get used to it, but the earlier you adapt, the better, you will avoid many punctures.
- Special pearl or mouliné thread. Or you can also use fine crochet yarn
- Frame, there are made of wood, plastic and silicone. Lately I spend the silicone ones because I like them better, but that goes to taste.
- Light, the more the better and to be able to be natural
If you liked this lesson in fancy knit combined in two colors or just one, you can try some more of the ones we publish here
And to see everything related to the cross stitch and its variations, click here
