LESSON 82: Scallop stitch and open scallop stitch-Buttonhole stitch
13 de August de 2021Scallop Stitch and Open Scallop Stitch-Buttonhole Stitch Tutorial:
We present this Scallop Stitch and Open Scallop Stitch-Buttonhole Stitch tutorial for you to enjoy.
This point is used on straight or slightly curved edges. Also in work of enhancement, extended or cutting and straight or curved profiles when working small.
1: 1: CLARIFICATIONWhen working on a margin of untreated fabric, the needle passes through the fabric only at point 2 of the drawing, which corresponds to the untreated margin of the lowest marked line.
2: For normal stitches, mark the fabric with two parallel lines.
3: When working with curves the points can be enhanced by keeping the point tabs always at the right angles to the required line. This stitch is worked from left to right and the crooked edge is at the bottom.
Fig. A: Take out the needle at 1, put it in 2 and take it out at 3 with the loop thread under the needle. Pass it whole along with the thread. Try to tighten the stitches in the same way to get a neat turned edge.
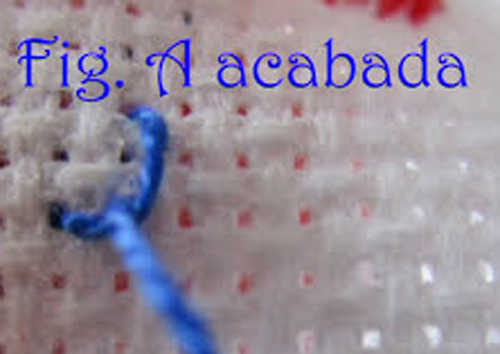
Fig. B: Repeat to the right. Close the last loop by making a small stitch along the bottom line.
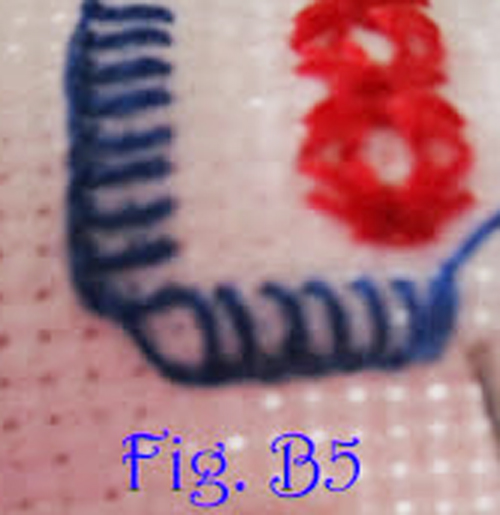
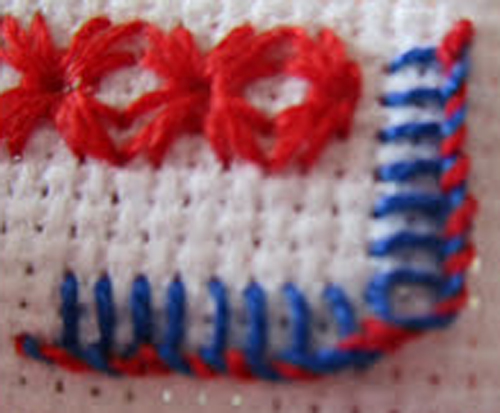
Fig. C: We are already talking about the open scallop stitch: The scallop stitch is easily enhanced by overcasting the bottom edge with a contrasting thread and a blunt needle.
Work from right to left, pass the needle under the lower thread of each satin stitch, from top to bottom, as in the image, without piercing the fabric.
From here we invite you to try it and you will be surprised by the effect. I encourage you to try and you will love it.
Follow the tutorial step by step and you will see how while you are sewing you can think of other ways to make other stitches, even combined with all the ones that I am putting here. You can use it both in borders, as in curtains, sheets, towels etc. or as a simple ornament point in one of your paintings. It is best to follow the video step by step here:
Materials
- You need a sharp pointed needle. In your trusted haberdashery they can advise you on this.
- Thimble, we know that it is not easy to get used to it, but the earlier you adapt, the better, you will avoid many punctures.
- Special thread for sewing. Or you can also use fine crochet yarn if it is to decorate something
- Frame, there are made of wood, plastic and silicone. Lately I spend the silicone ones because I like them better, but that goes to taste.
- Light, the more the better and to be able to be natural
If you liked this lesson in fancy knit combined in two colors or just one, you can try some more of the ones we publish here